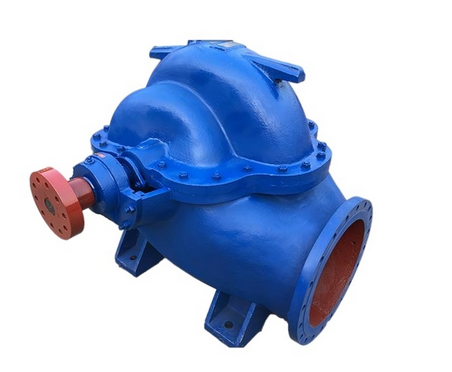
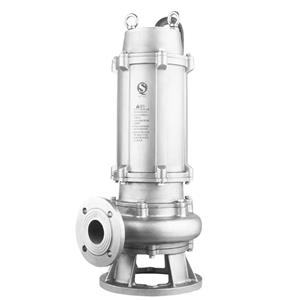
Disassembly steps of double suction pump
The disassembly steps of a double-suction pump usually involve the separation and inspection of multiple key components. The following is a detailed guide to the disassembly steps:
1. Preparation
Ensure safety: First, make sure that the pump has stopped running and cut off the power supply to prevent accidental startup.
Prepare tools: Prepare necessary disassembly tools, such as wrenches, screwdrivers, special disassembly tools, wire ropes, special brackets, etc.
Empty the medium in the pump: If the pump contains liquid or gas, you need to empty the medium in the pump first to avoid leakage or contamination during the disassembly process.
2. Disassemble external connectors
Remove the connecting pin: Separate the water pump from the motor and remove the connecting pin.
Disconnect the pipe connection: Remove the pipes connected to the system (such as air pipes, sealed water pipes, etc.), and wrap the pipe joints with cloth to prevent debris from falling into them.
3. Separate the pump casing
Remove the bolts and pins on the pump joint surface: Separate the pump cover from the lower pump body, and then remove the packing gland.
Lift the pump cover: After checking the above work, lift the pump cover smoothly, taking care not to rub against other parts.
4. Lift the rotor
Loosen the bearing gland: loosen and disconnect the glands of the bearing bodies on both sides.
Lift the rotor: use a wire rope to tie the packing glands at both ends of the rotor for lifting, keep it stable and safe. After the rotor is lifted out, it should be placed on a special bracket and placed firmly.
5. Disassemble the internal components
Remove the pump side coupling: and keep the connection key properly.
Remove the bearing body: loosen the end covers of the bearing bodies on both sides, remove the bearing body, and then remove the bearing fastening nut, bearing, bearing end cover and water retainer in turn.
Inspect and disassemble other parts:
Remove the sealing ring, packing gland, water seal ring, packing sleeve, etc., and check their wear or corrosion.
Loosen the bushing nuts on both sides, remove the bushing and check its wear, and replace it if necessary.
Check the wear and cavitation of the impeller. If it can still be used, there is no need to disassemble it further; if disassembly is required, a special puller should be used to heat and disassemble it to avoid damaging the pump shaft.
6. Cleaning and Inspection
Cleaning parts: Use alcohol or other cleaning agents to clean the disassembled parts to remove oil and impurities.
Inspecting parts: Carefully check the wear and damage of each part, and replace or repair it if necessary.
7. Recording and Sorting
Recording data: During the disassembly process, carefully record the original data and key parameters, such as the tightening torque of fasteners, the installation position of seals, etc.
Sorting tools and parts: Arrange the disassembled tools and parts and place them in the designated location to avoid loss or confusion.
