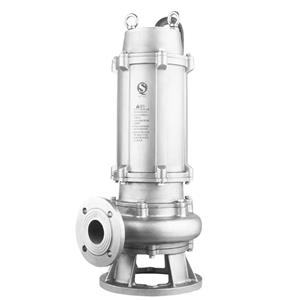
Replacement steps of multistage centrifugal pump packing
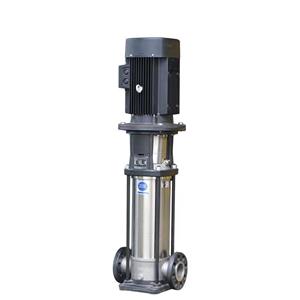
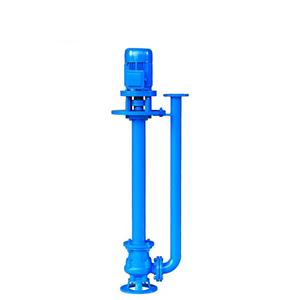
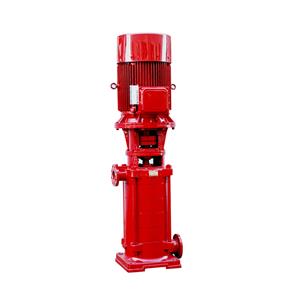
The replacement steps of the packing of a multistage centrifugal pump are a meticulous process that requires professional operation. The following are the specific steps:
1. Preparation
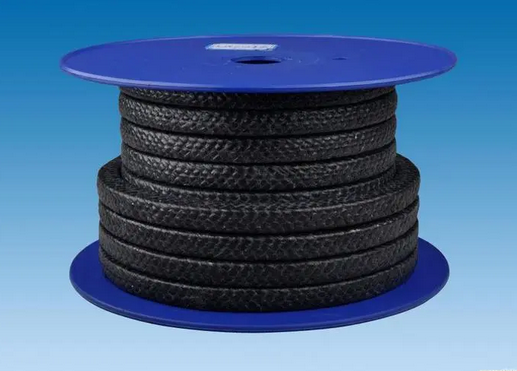
Tool preparation: Make sure all tools and materials are ready, including a 250mm adjustable wrench, a 300mm flat screwdriver, several packings of the same model, scissors, butter, etc. Check whether the tools are complete and free of cracks, clean and oil-free, to ensure safety and effectiveness during use.
Wearing of labor protection supplies: Operators must correctly wear labor protection supplies, such as safety helmets, work clothes, protective glasses and gloves, to ensure personal safety during construction.
Be familiar with the construction content: The on-site operation person in charge reads the construction work order, is familiar with the construction content and construction steps, clarifies the operators and guardians, identifies safety hazards and formulates mitigation measures, and the operator signs and confirms.
2. Close the valve and vent
Close the valve: Before replacing the packing, be sure to close the inlet and outlet valves of the multistage centrifugal pump to prevent liquid leakage.
Vent the liquid in the pump: Vent the residual liquid in the pump through the pump outlet vent valve to ensure that there is no liquid residue in the pump.
3. Remove the old packing
Open the packing box: Use an adjustable wrench to open the packing box.
Remove the old packing: Use a flat screwdriver to carefully remove the old packing and debris one by one. During the cleaning process, pay special attention not to damage the threads and other parts, and keep the working area clean to prevent debris from mixing into the pump.
4. Cleaning and inspection
Cleaning the pump plate and sealing chamber: Thoroughly clean the pump plate and sealing chamber, remove residual sand, impurities, etc., to ensure that the installation environment of the new packing is clean and free of dirt.
Check the components: Check whether the pump plate, motor and other components are normal, and whether the model and size of the new packing match the old packing.
5. Install the new packing
Cut the packing: Cut the new packing into an angle of 45 degrees as required for better sealing.
Install the packing: Install the cut packing one by one in the correct position, and ensure that the joints of the packing ring cuts are staggered in sequence to ensure the sealing effect. During installation, press the packing into the sealing chamber one by one until it is filled, and tighten the gland.
6. Lubrication and startup
Apply butter: Apply an appropriate amount of butter on the packing and valve stem to enhance its lubricity and extend its service life.
Startup preparation: Perform preparatory work before startup in accordance with the operating procedures, including checking whether the pump and motor are intact, whether the bearing grease is sufficient, and whether the screws of various parts are tightened.
Start the pump: Press the start button, observe the situation when the pump pressure rises to the maximum pressure, and slowly open the outlet valve to keep the pump pressure stable. After starting, conduct a comprehensive inspection of the machine pump by listening, watching, touching, thinking, and smelling to ensure that there are no abnormalities. If any abnormality is found, the pump should be stopped immediately for inspection and troubleshooting.
7. Finishing work
Cleaning the site: After completing the replacement and debugging, clean the site, collect and wipe the tools and utensils, and put them neatly.
Recording process: Record the process and results of replacing the packing to provide a reference for subsequent maintenance and care.
